
Key Takeaways
- Macro photography reveals intricate details of small subjects.
- Understanding magnification ratios and crop factors is essential.
- Focus stacking enhances image sharpness.
- Proper lighting techniques highlight subject features effectively.
Key Answer
Macro photography involves capturing close-up images of small subjects at high magnification, revealing details not visible to the naked eye. It’s essential to choose the right equipment, understand magnification ratios, and use focus stacking techniques for optimal results.
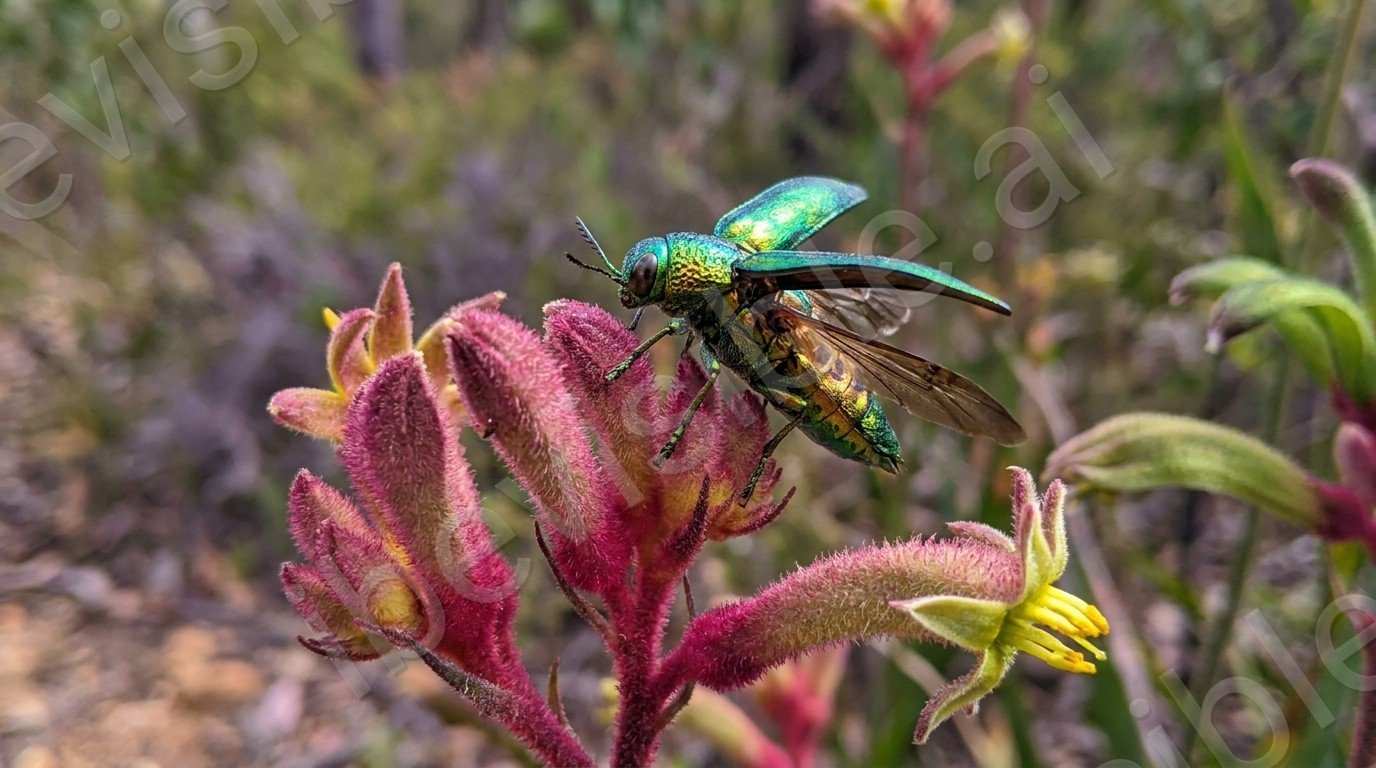
Macro photography is an enchanting art form that unveils the intricate details of tiny subjects, often invisible to the naked eye. Macro Photography Explained: Capturing the Hidden Beauty of Small Subjects aims to guide enthusiasts through the technical nuances of this captivating field, focusing on equipment selection, settings, and practical examples found in the Australian landscape.
Understanding Magnification Ratios and Crop Factor
At the heart of macro photography lies the concept of magnification ratios, typically expressed as 1:1 or 2:1. A 1:1 ratio means the subject is captured at life-size on the camera sensor. For photographers using APS-C sensors, like many hobbyists in Australia, it’s vital to consider the crop factor, which effectively increases the lens’s focal length, resulting in a larger-than-life magnification.
Understanding these ratios is crucial for selecting the right lens. Canon and Nikon offer macro lenses with varying ratios, such as 1:1, perfect for capturing detailed images of native Australian insects like the Blue Banded Bee or the delicate textures of a eucalyptus leaf.
| Lens Brand | Magnification Ratio | Best For |
|---|---|---|
| Canon | 1:1 | Insects, Flowers |
| Nikon | 1:1 | Leaf Patterns |
| Sigma | 2:1 | Extreme Close-ups |
Focus Stacking Techniques for Sharper Images
Focus stacking is a pivotal technique in macro photography, especially when dealing with razor-thin depth of field. This involves taking multiple images at different focus points and blending them to create a single image with enhanced sharpness. This method is particularly effective when photographing detailed textures, such as the scales on a butterfly’s wings.
To achieve focus stacking, photographers can use software like Adobe Photoshop or specialised programs like Helicon Focus. Start by setting your camera on a stable tripod, focus on different points of your subject, and ensure each shot is consistent in lighting and exposure.
Expert Perspective
Macro Photography Specialist
As an expert in the field, I find macro photography offers an unparalleled view into the world of tiny wonders. The technique not only demands precision and patience but also provides a deeper appreciation for the natural environment, especially in a region as diverse as Australia.
Lighting Solutions: Ring Flashes, Twin Lights, and DIY Diffusers
Lighting can make or break a macro photograph. The goal is to highlight the subject’s features without harsh shadows. Ring flashes and twin lights are popular among professionals. They provide even illumination, crucial when photographing reflective surfaces like dewdrops on Australian native flowers.
DIY enthusiasts can craft diffusers from household items like plastic milk containers, offering a soft light. The key is to experiment with different lighting setups to find what best captures the essence of your subject, be it the delicate form of a Banksia flower or the vibrant hues of a Rainbow Lorikeet.
Budget-Friendly Entry Points for Beginners
For those new to macro photography, several cost-effective options exist. Extension tubes, which fit between your camera body and lens, can transform standard lenses into macro lenses by allowing closer focusing. Reverse rings, which attach your lens backwards, and close-up filters are also viable options for those looking to experiment without significant investment.
These tools are excellent for capturing small Australian subjects like the fine details of the Golden Wattle or the intricate patterns of the Sydney funnel-web spider, offering beginners a chance to explore without the need for expensive equipment.
| Tool | Cost Estimate | Application |
|---|---|---|
| Extension Tubes | $20-$50 | Insects, Flowers |
| Reverse Rings | $10-$30 | Textures, Patterns |
| Close-up Filters | $15-$40 | Floral Details |
Field Ethics and Preparation
Field ethics are essential when practising macro photography. This involves treating subjects and their habitats with respect. It’s crucial to avoid disturbing insects or picking flowers, which are often critical to local ecosystems.
In preparation, photographers should research their subjects. This might involve understanding the best time of day to find certain insects, or which plants are in bloom at specific times of year. In Australia, the spring months can reveal a wealth of photographic opportunities, from the burst of wildflowers in the Outback to the coastal regions’ rich insect life.
Frequently Asked Questions
Macro photography involves capturing images of small subjects at close range to highlight intricate details not visible to the naked eye.
Focus stacking combines multiple images taken at different focus points to create a single, sharp image, overcoming depth of field limitations.
Lighting is crucial in macro photography to highlight subject features without harsh shadows, often achieved using ring flashes or DIY diffusers.
Extension tubes, reverse rings, and close-up filters are affordable tools to help beginners explore macro photography without investing in expensive equipment.
Field ethics ensure that photographers do not harm their subjects or disrupt their natural habitats while capturing images.