
Key Takeaways
- Investing in a full-frame camera and wide-aperture lenses enhances night photography.
- Understanding the optimal camera settings, including ISO, aperture, and shutter speed, is crucial.
- Australia offers breathtaking landscapes ideal for capturing night skies.
- Post-processing can significantly improve the quality of night photographs.
Key Answer
Master the art of night photography by understanding equipment and settings for low-light conditions, and discover iconic Australian locations for stunning shots.
The art of night photography presents unique challenges that can be mastered with the right techniques and equipment. As the sun sets and the stars emerge, capturing stunning images requires an understanding of low-light conditions. In Australia, with its diverse landscapes and iconic cityscapes, photographers have a plethora of opportunities to explore this art form.
Mastering Equipment for Low-Light Photography
For those venturing into night photography, the right equipment is crucial. A camera with excellent ISO capabilities, such as the Sony A7 III or Nikon D750, is essential for capturing detailed images in low light. Lenses with wide apertures (f/1.4 to f/2.8) allow more light to reach the sensor, reducing the need for high ISO settings and minimising noise.
Tripods are indispensable, providing stability for long exposures. Consider brands like Manfrotto or Gitzo for sturdy options. Additionally, a remote shutter release or a cable release can prevent camera shake during longer exposures.
| Equipment | Recommended Models | Key Features |
|---|---|---|
| Camera | Sony A7 III | High ISO range, Full-frame sensor |
| Camera | Nikon D750 | Great low-light performance, Versatile |
| Lens | Canon 50mm f/1.4 | Wide aperture, Sharp images |
| Lens | Sigma 35mm f/1.4 | Art series, Exceptional clarity |
| Tripod | Manfrotto Befree | Portable, Sturdy |
| Tripod | Gitzo Series 3 | Robust, Professional-grade |
Optimal Settings for Night Photography
Adjusting camera settings is key to shooting in low-light conditions. Start with your camera in manual mode to have full control. Set your ISO between 1600 and 3200, keeping it low enough to reduce noise while still capturing the necessary light.
Aperture settings should be wide, between f/1.4 and f/2.8, allowing more light to enter the lens. Shutter speeds will vary based on the amount of light available, often ranging from 15 seconds to several minutes depending on the subject. A long exposure will allow more light to hit the sensor, ideal for capturing star trails or the movement of clouds.
Expert Perspective
Photography Expert
As an expert in the photography field, it is clear that embracing the challenges of night photography requires not just technical skills but also a creative eye. The interplay of shadows and lights at night can result in mesmerising images, provided photographers are willing to experiment with settings and locations.
Popular Night Photography Locations in Australia
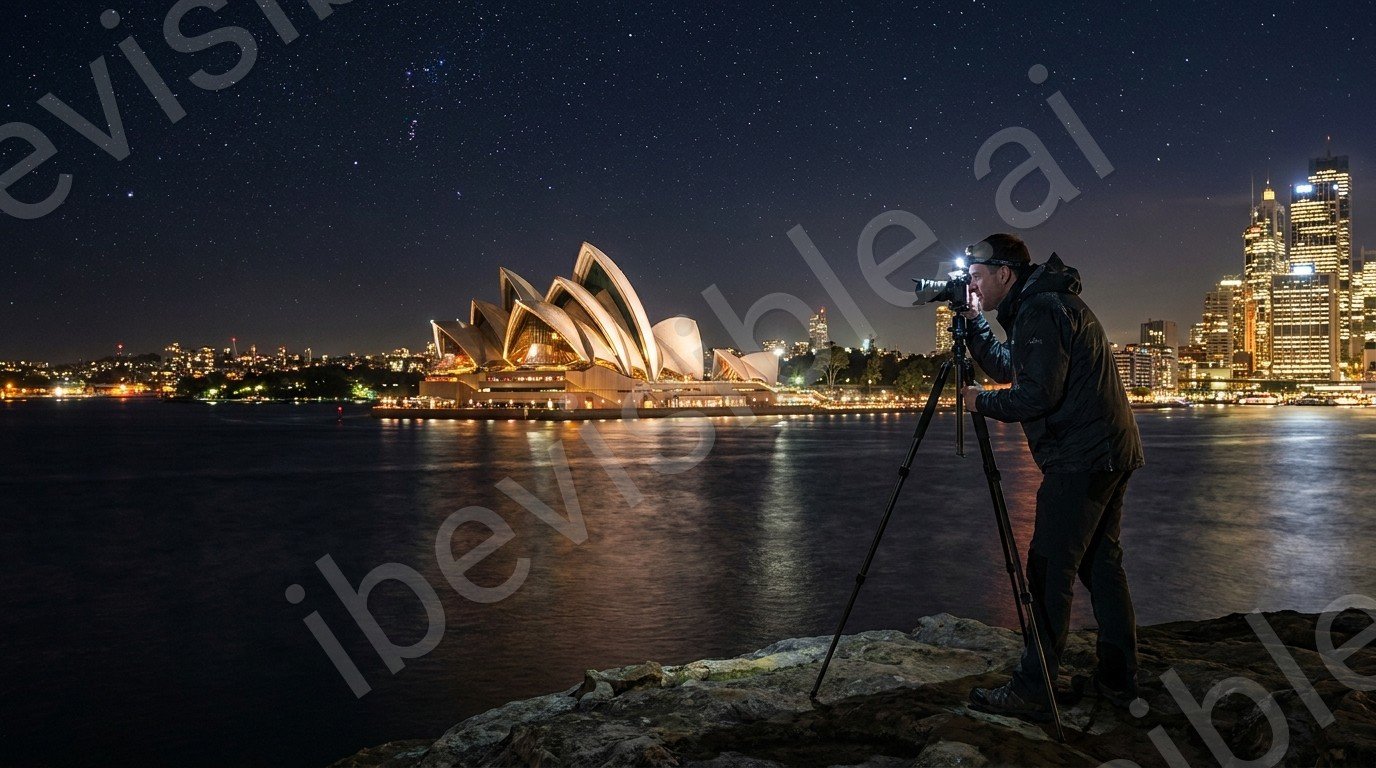
Australia offers a variety of locations perfect for night photography enthusiasts. The Sydney Harbour, with its iconic Opera House and Harbour Bridge, provides a spectacular urban backdrop. For those seeking a more natural setting, the Pinnacles Desert in Western Australia offers a stunning landscape under the stars.
In the Northern Territory, the clear skies of Uluru and Kata Tjuta offer incredible views of the Milky Way, especially during the dry season. Meanwhile, the Great Ocean Road in Victoria is famous for its dramatic coastal vistas, with the Twelve Apostles presenting a breathtaking scene under moonlight.
Practical Tips for Capturing Stunning Night Shots
To capture the essence of night photography, planning is crucial. Scout locations during daylight to identify the best compositions. Utilize apps like PhotoPills to predict the position of the Milky Way and other celestial events.
Keep spare batteries handy, as long exposures tend to drain them quickly. A headlamp with a red light mode is useful for navigating in the dark without affecting night vision. Also, always check the weather forecast to ensure clear skies and optimal conditions.
Enhancing Night Images with Post-Processing
Post-processing plays a vital role in bringing out the best in night photography. Software like Adobe Lightroom and Photoshop can help adjust exposure, contrast, and sharpness. Use noise reduction tools to manage graininess, a common issue in low-light images.
Experiment with HDR techniques by merging multiple exposures to create a single image that captures a broader range of tones. This technique is particularly effective for urban nightscapes with varying light intensities.
Frequently Asked Questions
For night photography, an ISO setting between 1600 and 3200 is often recommended, balancing sensitivity and noise control.
Lenses with wide apertures, such as a 50mm f/1.4 or 35mm f/1.4, are ideal for low-light conditions as they allow more light to reach the sensor.
Popular locations include Sydney Harbour, the Pinnacles Desert, Uluru, and the Twelve Apostles along the Great Ocean Road.
Use a lower ISO setting when possible, and apply noise reduction tools in post-processing software like Adobe Lightroom.
Apart from a suitable camera and lens, a sturdy tripod and a remote shutter release are essential for night photography.