
Key Takeaways
- Utilise natural light as your primary source for cost-effectiveness and soft lighting.
- Use simple materials like paper or cardboard for backgrounds and reflectors.
- Experiment with camera settings and editing to achieve professional quality.
Key Answer
Learn how to create studio-quality product photography at home without breaking the bank by optimising lighting, background settings, and camera techniques.
Creating stunning product photography on a budget is more achievable than ever. With the right approach and some innovative thinking, anyone can transform their home into a versatile photography studio. By using readily available materials and optimising your setup, it is possible to produce images that rival those from professional studios.
Setting Up Your Home Studio
The first step in creating a studio-quality photography setup at home is identifying the right space. Choose a room with ample natural light, or near a large window, which can serve as your primary light source. Natural light is free and adds a soft, appealing quality to product images.
To enhance the natural light, consider installing sheer curtains to diffuse harsh sunlight. This helps in avoiding overexposure and creating evenly lit photos. Additionally, try to position your setup near a power outlet for any supplementary lighting or charging needs.
Affordable Lighting Solutions
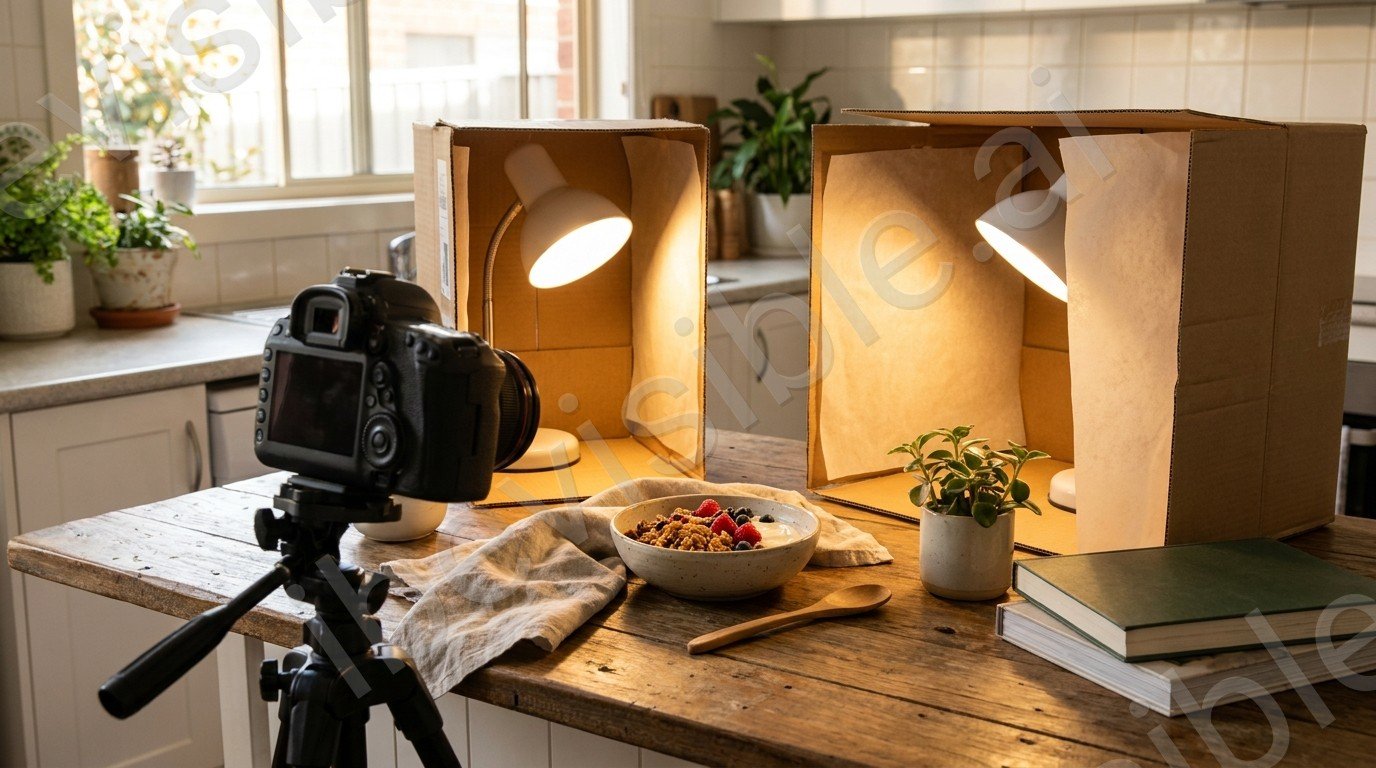
Effective lighting is crucial to professional photography. Luckily, creating a budget-friendly lighting setup is possible with everyday items. Instead of purchasing expensive lights, consider using desk lamps or clip-on LED lights. For diffusion, materials like white bed sheets or baking paper can work wonders in softening light sources.
Reflectors are also essential in photography to bounce light back onto the product. A piece of white cardboard or aluminium foil can serve as an inexpensive reflector, helping to fill shadows and highlight product features.
Expert Perspective
Photography Studio Consultant
In the dynamic world of product photography, the ability to adapt and innovate is more valuable than the most expensive equipment. Embracing creativity with everyday items can often yield results that defy expectations and showcase the ingenuity of the photographer.
Choosing and Setting Up Backgrounds
Backgrounds play a significant role in product photography. A clean, neutral background can help the product stand out without distractions. Use white poster board or craft paper as affordable background options. These materials are easy to manage and replace, ensuring each shot looks fresh.
For a bit of creative flair, consider using textured or coloured paper to complement the product. Just ensure the background enhances rather than distracts from the product itself. If you’re working with larger items, a plain wall can be a convenient alternative.
Camera Settings for Professional Results
While a DSLR camera is ideal, a modern smartphone camera can also deliver high-quality images with the right settings. Always shoot in high resolution to ensure image clarity and flexibility in editing. Use the manual mode if available to control the exposure, ISO, and focus precisely.
To avoid camera shake and maintain sharpness, use a tripod or any stable surface. This is especially important for longer exposure shots. A remote shutter or the camera’s timer can help in reducing movement when capturing images.
Post-Processing: Enhancing Your Images
Post-processing can elevate your photos from good to great. Free and affordable software like GIMP or Lightroom offer robust editing tools. Focus on adjusting brightness, contrast, and saturation to bring out the best in your product.
Cropping and straightening are essential for maintaining the focus on the product. Finally, export the images in the appropriate format and resolution for their intended use, whether it’s for web or print.
Next Steps
Taking the time to plan and set up a home studio effectively can significantly impact the quality of your product photography. Experimenting with different setups and continuously refining your techniques will lead to increasingly professional results. Remember, creativity and resourcefulness are your best tools when working on a budget.
Frequently Asked Questions
Natural light is often the best choice as it is both cost-effective and provides a soft, flattering illumination. Supplement it with diffused artificial lighting for consistency.
Using white poster board or craft paper is a simple and affordable way to create a neutral background that helps products stand out.
Use high resolution and manual settings if available, focusing on controlling exposure, ISO, and focus to achieve clear, sharp images.
While a DSLR is ideal, many modern smartphones have excellent cameras that can produce quality images with the right settings and lighting.
GIMP and Lightroom are both powerful yet affordable tools for editing photos and enhancing their quality after a shoot.